I’ve been spending a lot of time working on Newsome.Org’s move to WordPress, which is going remarkably well (more on that later). But today I want to look a little deeper into the process and benefits of publishing your blog via a Blogger Custom Domain.
 First, a recap. Recall that Blogger has announced that it will discontinue publishing via FTP on March 26, 2010. This caused a general panic here at Newsome.Org, followed by a somewhat more thoughtful election to move Newsome.Org to WordPress and my music publishing company (Errbear Music) to a Blogger Custom Domain. As I noted before, the process was generally very easy. Here’s the step-by-step walk-through of the process.
Here are some updates.
Adding Post Pages
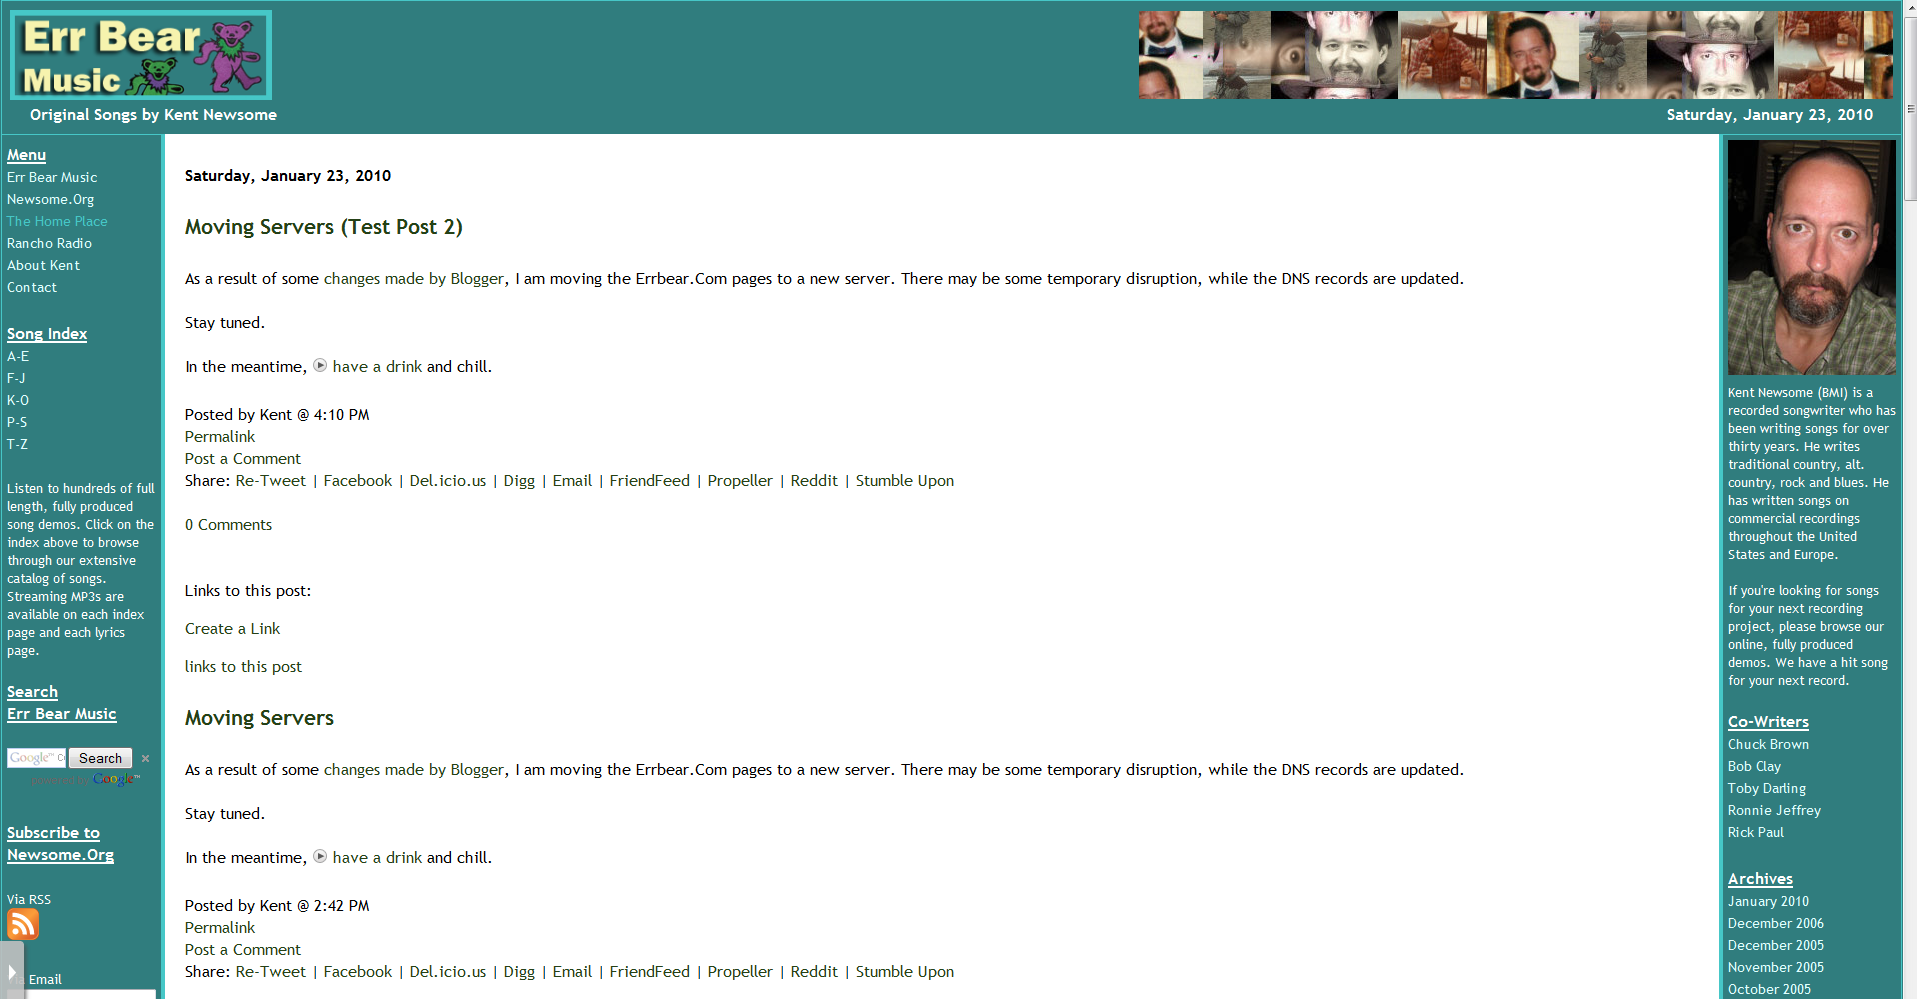
When I was publishing to Errbear Music via FTP, I was hosting the blog files in a directory on my Newsome.Org server, and using a page in that directory (errbear.html) as the blog’s front page. I then parked the errbear.com domain on that page, meaning that when someone directed their browser to errbear.com, he or she was forwarded to the errbear.html page. It looked reasonably seamless. The problem became that all of the post pages and other ancillary pages were located at Newsome.Org, and had a Newsome.Org URL. Once I set up my Custom Domain, I wanted to have all of the post pages and ancillary pages located within that domain. This happened automatically for the post pages, but could not happen automatically for the various ancillary pages located in that directory. The majority of those ancillary pages were the very important lyrics and streaming mp3 pages for my songs. This required me to create a new post page, containing the lyrics and a streaming mp3, for each of my songs. It wasn’t a soul-crushing task, using Live Writer and the time saving Text Template plugin, but it did take some time.
I want to be clear about something, to avoid confusion. The pages I am talking about were not previous blog posts. They were html files on my server that I linked to from the sidebar and in blog posts. For those who wonder how things got that way- my Errbear Music pages pre-dated by years the advent of blogging and blogging software. Those pages existed when I moved to a blogging platform.
A couple of pointers for anyone who has to do this:
1. Blogger allows you to mass edit labels. This is a huge time-saver. I decided about 2/3 of the way into the process to create genre-based labels. It would have been soul-crushing to go back and add labels to each post page manually.
2. There is a limit to the number of posts you can make each day to a Blogger blog. I don’t know the number, but it’s large. I ran into the “too many posts” error a couple of times when adding the post pages. Wait a day and you can get back to uploading pages.
I would note that I decided to leave the mp3 song files on the Newsome.Org server. The size of that song library and all the links out there (via a lot of the music search engines) led me to conclude that those files should be left where they are.
Templates are Themes
I wasn’t all that crazy about the default selection of templates. Initially, I hacked up one of the default selections and made it work. There are, however, a lot of good templates out there, you just have to look for them. I started with the Natural Health theme, and went from there. I think that template is as pretty as any WordPress themes I have seen.
It’s easy to upload a template via your Blogger Dashboard. Simply find a template you like and then:
1. Download the template to your computer. If the template is contained in a zip file, extracted the XML template file.
2. Log in to your Blogger Dashboard and go to Template> Edit HTML.
3. Back up your old template in case you decide to use it again. Simply click on the “download full template” link and save the file to your hard drive, or just copy and paste the html to Notepad.
4. Look for the section near the top where you can browse for your XML template.
5. Enter the location of your template and click “upload”.
6. The html of your new template will now appear in the box below. You can preview your new template or save it and start using it right away.
Hacking the Template
Much of what you want to change can be done via the Layout editor within your blog settings. Blogger has a “Gadget” approach, very similar to WordPress’s “Widgets.” While there isn’t the developer community behind Blogger Gadgets like there is for WordPress plugins and Widgets, I am confident that you can do just about anything layout or content wise on a Blogger template that you can do in a WordPress theme.
At the end of the day, I found the manipulation of Blogger templates to be a little less powerful and a little easier than WordPress themes. It’s not the kiddie pool, by any means, but there is a rope to help you keep from drowning.
One tip:
While you can do a lot via the Layout editor, you’ll need to (and can) edit the html for some tweaks. For example, until I went in and hacked the template code, my email subscription form was subscribing people to the email feed of the template developer. For what it’s worth, I have been using Feedblitz for my email feed for years, but moved back to Feedburner for both my blogs today. (If you don’t know what a Feedreader is and want to subscribe to Newsome.Org via email, see the link in the left column on this page.)
At the end of the day, moving to a Blogger Custom Domain is very easy, and Blogger provides the tools to create just about anything you could want. I’ll do a feature by feature comparison of Blogger and WordPress soon, but in the meantime, I can say that publishing to a Blogger Custom Domain is a fine, feature-rich option for your blog.
As always, I’ll try to answer any questions posed in the comments.


 As those who have been ignoring

